Crochet bags are stylish, practical, and surprisingly easy to make, even for beginners. With just a few basic stitches and simple construction techniques, you can create beautiful handmade bags that are perfect for everyday use, gifts, or even selling at craft fairs. Crochet bags are highly customizable—they can be small and delicate, large and sturdy, colorful, textured, or minimalistic. This makes them one of the most versatile categories in the crochet world. Whether you’re envisioning a tote, a clutch, a market bag, or a small purse, this guide will walk you through the essential steps to make simple crochet bags from scratch.
Choosing the Right Yarn for Crochet Bags
Yarn selection plays a major role in determining the structure and durability of your crochet bag. Unlike blankets and clothes, bags need to hold their shape. For this reason, sturdier yarns work best. Consider these popular choices:
Cotton yarn – Strong, durable, and perfect for market bags or everyday totes. Cotton holds its shape well and can be washed easily.
Acrylic yarn – Lightweight and affordable, but not always the best for structure. Works well for decorative bags or bags with lining.
T-shirt yarn – Thick, stretchy, and excellent for sturdy bags. It creates bold textures and is beginner-friendly.
Macramé cord – Extremely strong and ideal for structured bags and handbags.
Wool blends – Soft and flexible but may stretch over time unless reinforced.
For your first bag, cotton or t-shirt yarn is ideal because both provide good structure and are easy to work with.
Hooks and Tools You Will Need
Aside from yarn, you’ll need a hook that matches the thickness of your yarn. A slightly smaller hook than recommended can help create tighter stitches, which is ideal for bag construction. You will also need:
Scissors
Tapestry needle
Stitch markers
Optional items include bag handles, metal rings, zippers, or magnetic snaps if you want a more professional finish.
Basic Stitches for Simple Bags
Simple crochet bags often rely on basic stitches, making them beginner-friendly. The most common stitches used are:
Single crochet (sc) – Dense and strong, perfect for bag bodies
Half double crochet (hdc) – Slightly taller and good for texture
Double crochet (dc) – Faster to work but creates a looser fabric
Slip stitch (sl st) – Ideal for joining and creating sturdy edges
Most beginner bag patterns use single crochet because it produces a tight, durable fabric that helps the bag maintain its shape.
Starting With a Flat Base
Almost all crochet bags begin with a flat base. The two most popular types are:
Rectangular base – Begin with a chain and work single crochet stitches around both sides, increasing at the ends.
Oval base – Similar to a rectangle but rounded using increases in the curved sections.
To create a simple oval base:
Chain 15 (or your preferred width).
Single crochet across the chain.
Work multiple single crochets in the last stitch to turn the corner.
Crochet along the opposite side of the chain.
Add increases at each end and continue working in the round.
The base determines how big your bag will be, so adjust the chain length depending on the desired bag size.
Building the Body of the Bag
Once the base is complete, you can begin working upward to form the bag’s body. Many simple bags are crocheted in continuous rounds using single crochet stitches. This creates a seamless bag with no visible joins. If you want a textured look, consider using:
Half double crochet in the back loop only (HDC BLO)
Single crochet in the back loop only (SC BLO)
The woven stitch (alternating single crochet and chain)
These stitches create structure while adding personality to your bag.
To maintain the bag’s shape, avoid increasing stitches as you move upward unless you want a slouchy style.
Adding Texture for Visual Interest
Even the simplest bag design can look stylish with the addition of textures. Some options include:
The suzette stitch – Alternates single crochet and double crochet for a dense, beautiful texture
The moss stitch – Creates a woven, modern look
The waistcoat stitch – Resembles knit and creates a very sturdy fabric
Textured stitches help the bag feel more high-quality and professional without increasing difficulty.
Making Handles and Straps
Handles can be crocheted directly onto the bag or made separately and sewn on. Popular options include:
Crochet straps – Made by chaining and crocheting rows of single or half double crochet.
I-cord straps – Round and sturdy, perfect for handbags.
Wooden or metal handles – Ideal for structured, elegant bags.
Macramé-style rope handles – Add a boho look.
When making crochet straps, ensure they are reinforced so they do not stretch over time. Tight stitches or double-stranded yarn can help improve durability.
Adding a Lining (Optional but Recommended)
Although not required, lining your crochet bag adds stability and prevents small items from slipping through the stitches. A simple cotton or canvas fabric works well. To add lining:
Cut fabric slightly larger than the bag’s interior.
Fold and sew the sides to create a pouch.
Insert the fabric lining inside the bag.
Hand-stitch the lining to the top edge.
A lining also helps maintain the bag’s shape, especially if using stretchy yarn.
Simple Bag Shapes to Try
Here are a few easy bag shapes for beginners:
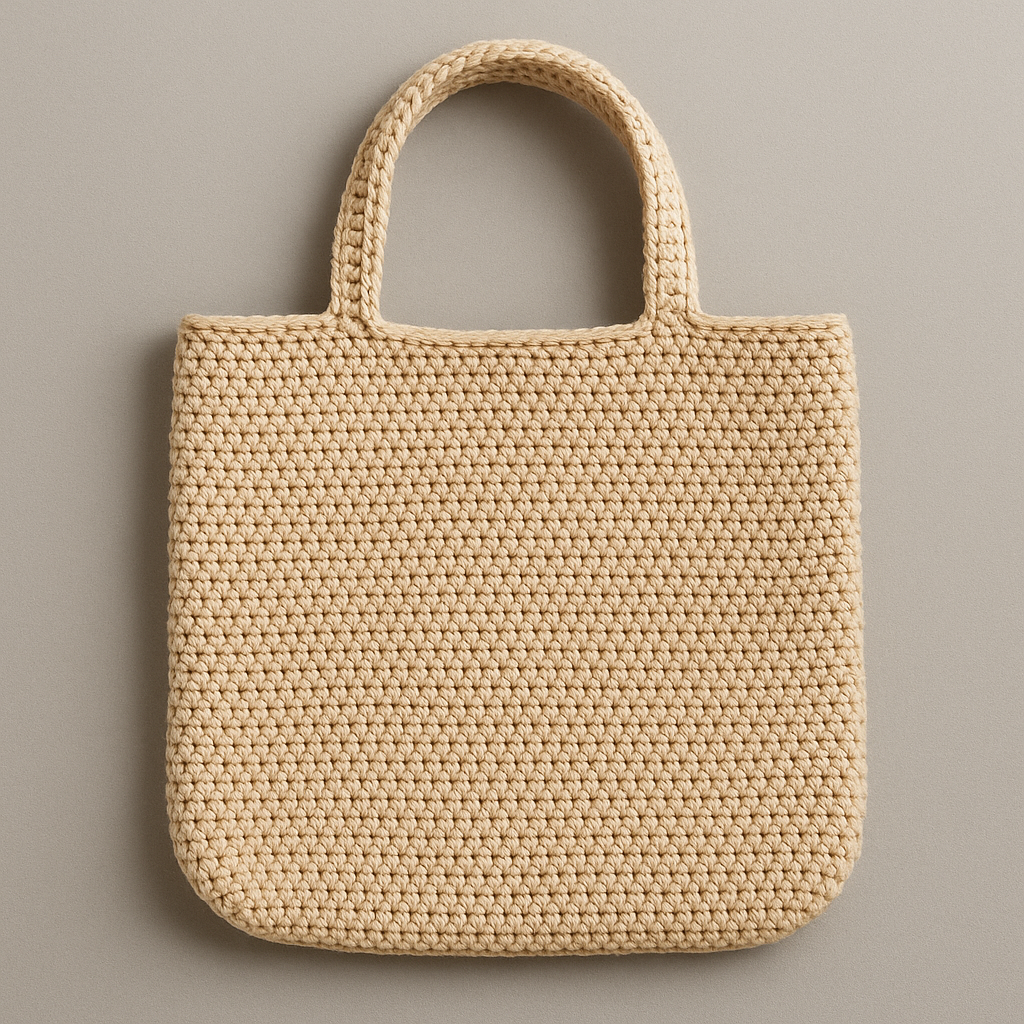
Tote Bag
A classic shape with two handles. Start with a rectangular base and build up with single crochet. Add long straps for a casual, everyday bag.
Drawstring Bag
Create a tube with single crochet, then add eyelets near the top. Thread a cord through the holes to make the drawstring. Perfect for small accessories.
Clutch Bag
Crochet a rectangle, fold it in half, and stitch the sides. Add a button, flap, or zipper closure.
Market Bag
Use mesh stitches for stretch and breathability. Ideal for grocery shopping or beach trips.
Circle Bag
Crochet two circles and join them together, adding straps at the top. Fun, trendy, and easy to personalize.
Embellishing Your Crochet Bag
You can elevate your bag’s design with embellishments such as:
Buttons
Tassels
Pom-poms
Embroidery
Appliqué flowers
Metal rings or hardware
Color changes
Striping
Embroidery and appliqué allow you to mix crochet techniques for a more artistic finish.
Blocking Your Bag for a Polished Look
Blocking helps your bag keep its shape and gives the stitches a smooth, even appearance. Lightly steam or wet-block the bag, shaping it with your hands. Allow it to dry fully before using. Blocking is especially helpful for textured or lace-style bags.
Practice Makes Every Bag Better
Like any crochet project, your technique improves with practice. Your first bag may not be perfect, but each new project teaches you better tension control, cleaner stitches, and more precise shaping. Bags are ideal practice pieces because they are small, quick, and highly customizable.