Granny squares are one of the most iconic and beloved motifs in the crochet world. They are beginner-friendly, versatile, and can be used to create blankets, pillows, bags, clothing, and decorative items. Although they are simple to construct, many crocheters struggle with tension, shape, or consistency when making multiple squares for a large project. Learning how to crochet perfect granny squares ensures your pieces fit together smoothly and produce a polished, professional final result. This guide will walk you through every step, from choosing yarn and hooks to mastering techniques that keep your squares even, flat, and beautifully shaped.
Why Granny Squares Are So Popular
Granny squares endure because they combine creativity with simplicity. You can use one color or multiple colors, solid patterns or classic openwork designs, and adjust the size easily by adding more rounds. They are portable projects, allowing you to crochet anywhere. Granny squares also help use leftover yarn, making them economical as well as fun.
Whether you are making traditional three-double-crochet clusters or modern variations, granny squares remain a foundational skill every crocheter should master.
Choosing the Right Yarn and Hook
The materials you choose greatly influence the quality of your granny squares. To keep your squares neat and consistent, choose smooth, medium-weight yarn such as worsted-weight cotton or acrylic. These yarns hold shape well and are easy to stitch.
Your hook should match the yarn label’s recommendation, but for crisp squares, many crocheters prefer going one size smaller. A slightly tighter stitch helps the square stay firm and prevents gaps from becoming too wide.
Understanding the Classic Granny Square Structure
Traditional granny squares are worked from the center outward, forming a series of clusters separated by chain spaces. Each round expands by adding new clusters at the corners.
A classic structure includes:
Foundation ring
Round 1 with four corner clusters
Round 2 expanding each corner and adding side clusters
Additional rounds repeating the pattern
Once you understand this formula, you can modify colors, stitches, and layout as needed.
Starting with the Perfect Center
The beginning of the granny square sets the tone for the entire piece. The best method to achieve a neat center is the magic ring. It allows you to close the center tightly and avoid a hole in the middle.
If you prefer not to use a magic ring, you can make:
Chain 4 and join with a slip stitch
Chain 5 for a looser center
Whichever method you choose, ensure the center is closed firmly after Round 1.
Maintaining Even Tension
Inconsistent tension is one of the most common issues that lead to wonky or wavy squares. To achieve perfect tension:
Relax your hands and shoulders
Use a hook size that matches your comfort
Keep yarn tension steady
Avoid pulling too tightly when making chains
With practice, your stitches will become naturally even, resulting in smooth, consistent rounds.
Keeping Corners Sharp and Square
Perfect corners define a perfect granny square. Each corner usually consists of:
Cluster – chain space – cluster
If the chain space is too tight, the square curves inward. If too loose, the corners stretch outward. Most traditional patterns use chain-2 for corners, but some crocheters use chain-3 for added flexibility. Test both to see which keeps your square flatter.
Always ensure corners line up cleanly across rounds. If corners begin to twist or lean, your tension may need adjusting.
Choosing the Right Chain Counts
Classic granny squares include chains between clusters to create open spaces. The most common setup is:
Chain 2 between clusters at corners
Chain 1 between clusters on sides
However, modern “solid” granny squares eliminate some or all chain spaces to create a denser look. Each variation requires careful attention to keep edges straight.
If your square begins to ripple, reduce chain spaces. If it tightens or curls, increase them slightly.
Preventing Your Square from Twisting
Twisting often occurs when working continuously in the same direction. To avoid this, you can:
Turn your work after each round
Alternate between joining seamlessly and fastening off
Turning helps maintain symmetry and improves square stability.
Changing Colors Cleanly
Many granny squares feature multiple colors, making color changes an important skill. To achieve clean transitions:
Finish the round completely
Fasten off neatly
Join the new color in any corner
Weave in ends securely
Avoid knotting yarn directly into the square, as it can bulk up the seams and create uneven texture.
Joining New Rounds with Precision
The slip stitch join should be clean and tight enough to avoid gaps but not so tight that it distorts the square. Insert the hook into the top of the chain-3 (or designated starting chain), yarn over, and pull through both loops.
Ensure all joins are consistent across every round to keep edges uniform.
Making Each Square the Same Size
When making multiple squares, consistency is key. To ensure uniform size:
Use the same hook and yarn throughout
Follow identical tension
Block squares before assembling
Measure squares after finishing each round
If a square is slightly too big or small, adjust tension or chain spaces before continuing.
Blocking Your Granny Squares
Blocking transforms a wavy or slightly uneven square into a professional, crisp shape. To block:
Pin the square to a blocking board
Lightly spray with water
Let it dry completely
For acrylic yarn, steam-block from a distance without touching the iron to the fabric. Blocking ensures all squares match perfectly before joining.
Exploring Variations of Granny Squares
Once you master the classic square, explore variations such as:
Solid granny squares
Circle-to-square designs
Flower-centered squares
Geometric color layouts
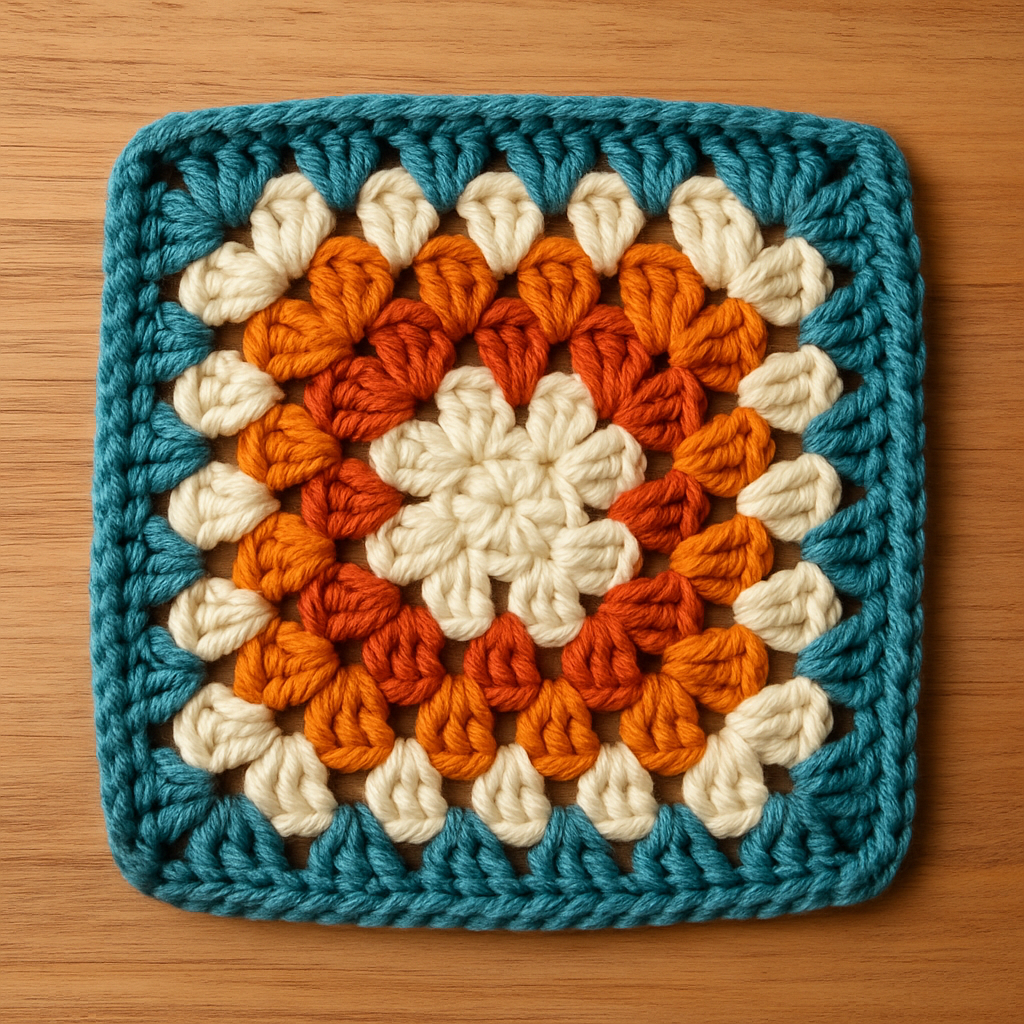
Sunburst granny squares
Each variation offers new opportunities for creativity while still using familiar construction methods.
Joining Your Granny Squares
There are many methods to join squares, and the style you choose affects the finished look. Popular joining techniques include:
Slip stitch join
Single crochet join
Invisible mattress stitch
Join-as-you-go method
Join-as-you-go is especially popular because it eliminates the need for sewing and creates a clean, flexible seam.
Adding Borders to Granny Squares
Borders help unify your squares and prepare your blanket for final finishing. You can add:
A simple single crochet border
A moss stitch border
A shell stitch edge
A modern straight-edge border
Borders help even out slight size differences and give the project a polished frame.
Common Mistakes and How to Fix Them
Here are a few common granny square mistakes and solutions:
Square is wavy → Reduce chain spaces or loosen tension
Square curls inward → Increase chain spaces
Center hole too large → Use a magic ring
Square twists → Turn your work between rounds
Edges uneven → Count stitches carefully each round
Fixing small issues early saves time and stress when you assemble your project.
Final Thoughts
Crocheting perfect granny squares is a skill that improves with practice, patience, and attention to detail. By using consistent tension, clean joins, correct corners, and proper blocking, you can create squares that look professionally crafted. Whether you prefer traditional patterns or modern variations, granny squares remain a timeless, joyful part of crochet that allows endless creativity. Mastering them opens the door to countless beautiful projects you can be proud of.