A quilt’s border is more than a simple frame—it is the final design element that completes your quilt and gives it a polished, professional appearance. Borders can highlight colors, emphasize patterns, balance the composition, and even correct slight size inconsistencies. Whether you prefer a clean and minimal look or a bold decorative style, the right quilt border can elevate your work and turn a beautiful quilt into an extraordinary one. This guide explores a variety of creative quilt border ideas to inspire your next project and help you finish your quilts with confidence.
Why Quilt Borders Matter
Borders serve several important purposes. They frame the central design, enhancing the visual structure and providing a resting place for the eyes. They add stability to the quilt’s edges, keeping the shape square and preventing distortion. Borders also allow you to extend the size of a quilt when needed. Most importantly, they give you a chance to add personality and a final touch of creativity. Whether subtle or dramatic, borders contribute significantly to the professionalism of your finished quilt.
Classic Straight Borders
Straight borders are the simplest and most traditional type of quilt border. They involve sewing long, straight strips of fabric around the quilt top. Although simple, straight borders can look elegant and refined when done correctly. To prevent wavy edges, measure your quilt through the center rather than along the outer edges and cut your border strips to that measurement. Straight borders work well when you want a clean finish that doesn’t compete with a busy quilt center.
Pieced Borders
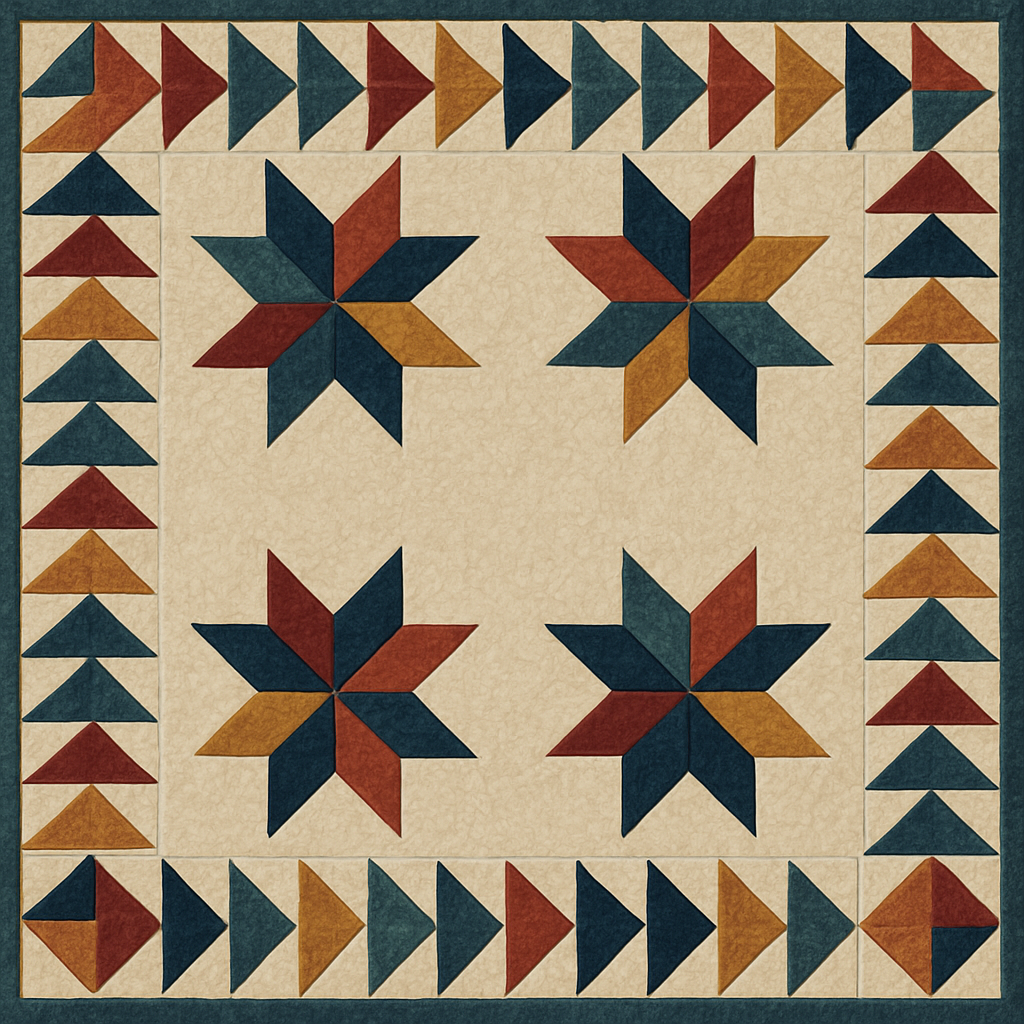
Pieced borders incorporate quilt blocks or patchwork elements, creating a decorative frame that enhances the quilt’s design. Some popular pieced border ideas include:
Nine-patch borders
Flying Geese borders
Pinwheel borders
Checkerboard borders
Striped pieced borders
Pieced borders offer endless opportunities for creativity. They are especially effective when you want the border to echo motifs from the main quilt.
Scalloped Borders
Scalloped borders add graceful curves to a quilt’s edge, giving it a soft, romantic look. These borders are popular for feminine or vintage-inspired quilts. To create scalloped borders, mark gentle curves along the border’s edge and follow the lines carefully when cutting. Binding scallops requires bias binding, as it stretches smoothly around curves. The result is a charming and elegant finish perfect for heirloom quilts.
Mitered Borders
Mitered borders offer a clean, seamless appearance where border strips meet at a 45-degree angle. This technique works especially well with striped fabrics or prints that need clean continuation at the corners. Although mitering takes more time and precision, the result is sophisticated and professional. Mitered borders are common on quilts where symmetry and continuity are important.
Multi-Layer Borders
Multi-layer borders use two or more border layers to create depth and visual interest. For example:
A narrow inner border in a contrasting color
A wider outer border featuring a bold print
A thin accent border between two wider ones
This approach allows for balanced framing and offers a chance to use multiple colors from your quilt. Multi-layer borders are excellent for large quilts where a single border may look too simple.
Appliqué Borders
Appliqué borders are artistic and decorative, perfect for quilts with themes or storytelling elements. You can appliqué flowers, vines, hearts, stars, animals, or custom shapes. Appliqué adds texture and dimension, making the border feel like part of the artwork rather than just a frame. Raw-edge appliqué creates a modern look, while needle-turn appliqué gives a classic, elegant finish.
Embroidered Borders
Adding embroidery to quilt borders brings delicate detail and handmade charm. Embroidery stitches such as running stitch, chain stitch, or French knots can outline motifs or create decorative patterns. Embroidered borders are ideal for baby quilts, memory quilts, and personal gift quilts. They allow you to incorporate initials, dates, or special messages.
Piano Key Borders
Piano key borders consist of narrow rectangular strips arranged vertically or horizontally around the quilt. They resemble the keys of a piano, hence the name. This border design is a fantastic scrap buster and works beautifully with modern or traditional quilts. Piano key borders add movement, color, and rhythm to the edge of your quilt.
Wavy or Curved Borders
Curved borders create flowing, organic edges that break away from traditional straight lines. You can design gentle waves, asymmetrical curves, or even landscape-inspired shapes. Curved borders require careful planning and precise construction, but they offer a stunning visual impact. Bias binding is essential for finishing curved edges smoothly.
Inner Borders for Structure
Inner borders help separate the main quilt from a decorative outer border. They can provide contrast, stabilize pieced borders, or add balance to a visually busy quilt. A thin inner border in a neutral color can create a calm transition before a more dramatic outer border.
Using Panels or Wide Prints
Wide fabric prints with decorative motifs can make beautiful ready-made borders. Simply cut a strip featuring the print’s design and sew it to the quilt’s edge. This method is quick and visually impressive. It is especially useful for floral, holiday, or themed quilts.
Cornerstones for Added Detail
Cornerstones are small squares inserted at the corners between border strips. They add structure, visual interest, and opportunities to use accent fabrics. Cornerstones work well with straight borders, checkerboard borders, or sashing-style designs. They create symmetry and allow you to highlight special fabrics.
Asymmetrical Borders
Asymmetrical borders break traditional rules by adding borders only to certain sides of the quilt or using different widths on each side. This modern and artistic approach is perfect for contemporary quilts. Asymmetrical borders create movement and draw attention to specific areas of the quilt.
Floating Borders
Floating borders create the illusion that quilt blocks are “floating” within the frame. The border fabric matches the background of the blocks, giving the design a spacious, airy appearance. Floating borders are popular in modern quilting and are especially effective for minimalist or geometric designs.
Echo Borders
Echo borders repeat a shape, color, or theme from the quilt center to create unity. For example, if your quilt includes star blocks, your border might echo the star shape with small appliqué stars or pieced star units. Echoing enhances cohesion and strengthens the overall design.
Tips for Perfect Quilt Borders
Here are some helpful tips for achieving flawless borders:
Measure through the center of the quilt for accurate border length.
Avoid stretching fabric while sewing to prevent waves.
Press each border carefully before adding the next one.
Use bias binding for curved or scalloped borders.
Choose border colors that enhance—not overpower—your quilt.
Adding Your Personal Touch
Borders are the final opportunity to express creativity in a quilt. Whether you add a simple frame or an elaborate decorative edge, the border contributes to the quilt’s story and personality. Feel free to mix techniques, experiment with color, or design something unique. As you gain experience, you’ll discover which border styles match your quilting style and preferences.