Designing your own crochet pattern is one of the most rewarding skills you can develop as a crocheter. It gives you creative freedom, lets you customize projects exactly the way you want, and allows you to express your unique style. Whether you dream of creating new stitches, shaping garments, or writing patterns for others to enjoy, learning how to design your own crochet pattern opens a world of possibilities. Even if you have only made a handful of projects, you can begin exploring pattern design with the right approach. This guide walks you through each step of the process, from gathering inspiration to writing clear instructions that others can follow.
Understanding the Basics of Crochet Construction
Before designing your own pattern, it’s important to have a solid understanding of how crochet works. Different stitches have different heights, textures, and drape. For example, single crochet creates dense fabric while double crochet produces taller, looser stitches. Similarly, techniques such as increasing, decreasing, and working in the round affect shape and structure. Understanding these foundations helps you design patterns that behave the way you expect. If you know how stitches build upon each other, you can manipulate them intentionally to create the shapes and textures you want.
Gathering Inspiration for Your Design
Every design begins with inspiration. You might get ideas from colors, textures, clothing, home décor, or nature. Many designers start by sketching shapes or motifs that catch their attention. Other times, inspiration comes from a need—for example, wanting a blanket with a specific size, a hat that fits perfectly, or a decorative motif with a particular theme. Exploring Pinterest, Instagram, and crochet books can also spark ideas, but be careful not to copy existing patterns. Instead, let them guide your creativity and help you develop your own interpretation.
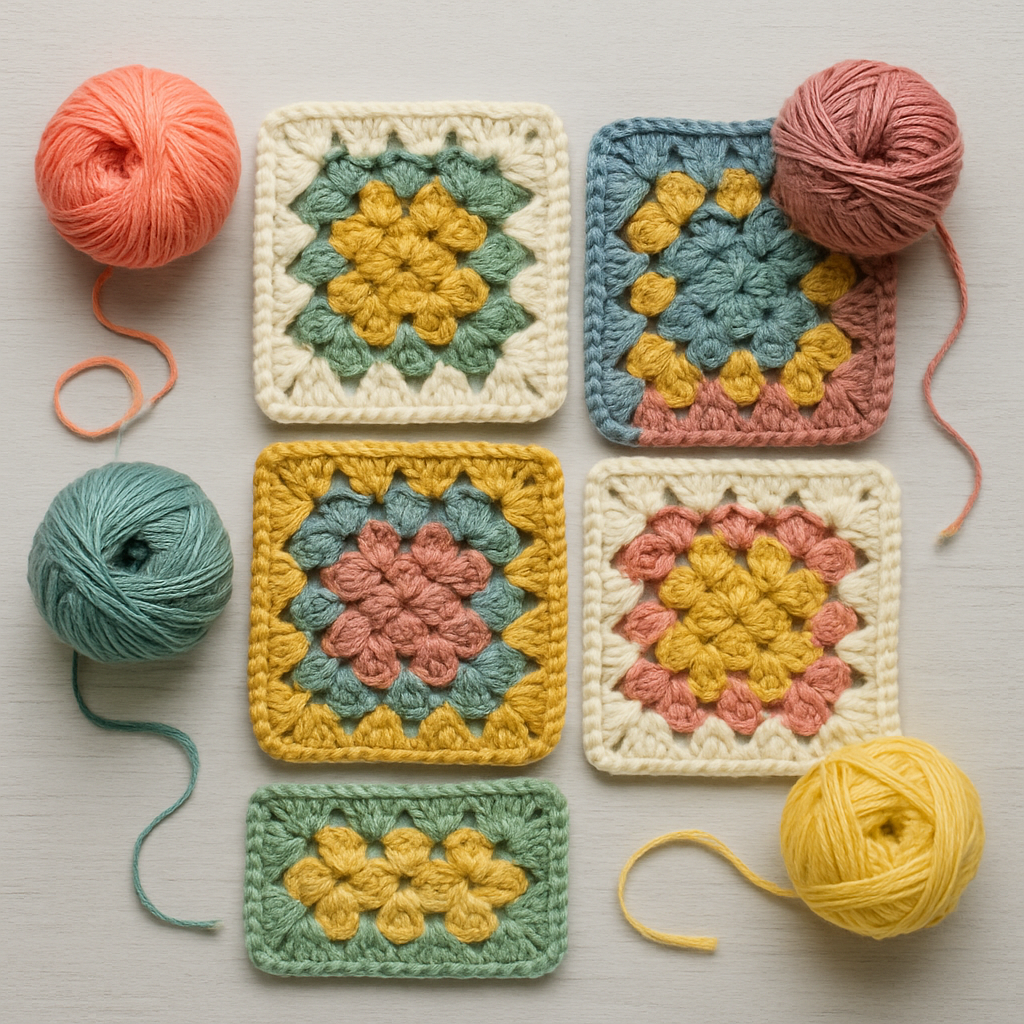
Choosing the Right Yarn and Hook
The yarn and hook you choose have a major impact on the final design. Yarn weight influences the thickness and drape of the fabric. Fine yarns work well for lace and delicate garments, while medium or bulky yarns create warm, cozy items. Different fiber types also affect how your design behaves. Cotton is sturdy and holds shape, making it great for home décor and garments. Acrylic is soft and affordable, ideal for blankets and scarves. Wool blends offer stretch and warmth. Pair the yarn with a hook that gives the drape you want. A smaller hook creates a tighter fabric, while a larger hook gives a looser, more flexible feel.
Sketching Your Idea
Before you start crocheting, it helps to create a simple sketch of your design. Your drawing doesn’t need to be perfect—just a basic outline that shows size, shape, and any important details. Sketching helps you visualize the final project and plan how it will be constructed. For example, a sweater might be drawn with notes indicating where increases and decreases will occur. A motif might include notes about stitch counts or pattern repeats. Having a sketch makes the design process more organized and helps ensure your project matches your vision.
Creating a Swatch
A swatch is a small sample of your design that helps you test stitches, tension, and yarn suitability. Swatching is essential because it reveals how your chosen stitch behaves. You may discover that the stitch pattern is too stiff, too open, or not as visually appealing as you expected. Swatching also helps you measure gauge—the number of stitches and rows per inch. Gauge determines the size of your finished project and allows you to write instructions that others can follow accurately. If your swatch doesn’t behave the way you want, adjust your yarn, hook, or stitch pattern and test again.
Developing Your Stitch Pattern
Once you finish your swatch, you can begin refining your stitch pattern. If you’re designing a module-based piece like a square, you’ll want to create a repeatable pattern. If you’re designing a garment, you might combine multiple stitch patterns—such as ribbing, lace, or textured stitches—to achieve your desired look. Take detailed notes about the stitch sequence, including increases, decreases, and turning chains. Designing a stitch pattern requires trial and error. You may need to adjust stitch counts, rearrange elements, or try new combinations to achieve the effect you want.
Testing Shaping Techniques
If your pattern involves shaping, such as sleeves, hats, or bags, testing your methods is crucial. Shaping in crochet is usually achieved through increases and decreases. For example, increasing evenly around a round creates a flat circle—useful for hats and motifs. Decreasing gradually can form curved shapes or tapered edges. When designing, work slowly and measure frequently. If your shaping looks uneven or doesn’t match your sketch, adjust your stitch placement and try again. Don’t be discouraged by mistakes; pattern design often requires several attempts before everything comes together perfectly.
Writing Clear Instructions
Once your design takes shape, it’s time to write the pattern. Clear, structured instructions help others (and your future self) follow your design easily. Begin with basic information: yarn weight, hook size, gauge, finished measurements, and any special techniques used. Then, organize your pattern into sections with clear headings. Use standard crochet abbreviations so readers understand your instructions. For example:
ch = chain
sc = single crochet
dc = double crochet
hdc = half double crochet
sl st = slip stitch
Write each step in order and include stitch counts at the end of rows or rounds. This helps users stay on track and identify mistakes early. If your design includes repeats, explain them clearly and use parentheses or brackets to avoid confusion.
Creating Charts or Diagrams
Charts are helpful visual tools, especially for motifs, stitch patterns, and lace designs. If you know how to read or draw crochet charts, creating one for your pattern can make it easier to understand. Even simple diagrams showing measurements or construction layout can improve clarity. Charts are especially helpful when writing patterns for international audiences because symbols are universal. Including both written instructions and charts appeals to different learning styles.
Testing Your Pattern
Pattern testing is an essential step in the design process. Testing ensures your instructions are accurate, easy to follow, and free from errors. Ideally, you or another crocheter should make the project exactly as written, without adjusting based on memory or intuition. If your tester finds confusing instructions, incorrect stitch counts, or unclear shaping, adjust the pattern accordingly. Testing helps refine your design into a polished, professional pattern.
Adding finishing touches
Finishing touches make your pattern more appealing and complete. These may include weaving in ends, adding borders, blocking the finished piece, or attaching additional elements like buttons or appliqués. Writing a finishing section in your pattern helps users understand how to complete their project neatly. You can also include tips, notes, and variations to inspire creativity.
Photographing Your Finished Project
If you plan to share your pattern online or sell it, clear photos are essential. Take pictures in natural lighting, showing the project from multiple angles. Include close-ups of stitch patterns, shaping details, and any unique features. Simple backgrounds work best so the project stands out. Good photography enhances your pattern’s appeal and helps users see what they’re making.
Gaining Confidence as a Designer
Designing your own crochet pattern is a skill that grows with practice. Your first pattern doesn’t have to be perfect. Each new design teaches you more about construction, stitch behavior, and how to communicate your ideas clearly. As your skills develop, you’ll discover your personal style and gain the confidence to create more complex patterns. Designing patterns allows you to share your creativity with the world and contribute something unique to the crochet community.