Creating a quilt is a deeply rewarding experience, but many quilters—especially beginners—wonder how to make their finished projects look polished and professional. Small details, consistent techniques, and thoughtful finishing touches can elevate even a simple quilt into a stunning piece that looks store-quality. Fortunately, achieving a professional appearance does not require advanced skills; it simply requires attention to technique, precision, and finishing. In this guide, you’ll learn the key methods and habits that will help your quilts look neat, refined, and expertly crafted.
Start With High-Quality Fabric
The foundation of a beautiful quilt is high-quality fabric. Quilting cotton that is tightly woven presses better, cuts cleaner, and lasts longer. Poor-quality fabric can stretch, fade, or distort, making it difficult to achieve crisp lines and accurate blocks. When possible, choose fabrics from reputable quilting brands. Even budget-friendly options can look professional as long as the weave is consistent and the fabric feels sturdy.
If you use multiple fabrics, make sure they have similar thickness and weight. Mismatched fabric types can create lumps and uneven seams.
Starch Before Cutting
Starch helps keep fabric crisp and easy to cut. It prevents stretching during sewing and reduces frayed edges. When working on precise blocks—especially those with triangles or bias edges—starch makes a significant difference in accuracy. Spray lightly, press smooth, and let the fabric cool before cutting.
Professional quilters often starch their fabric twice when working with detailed piecing.
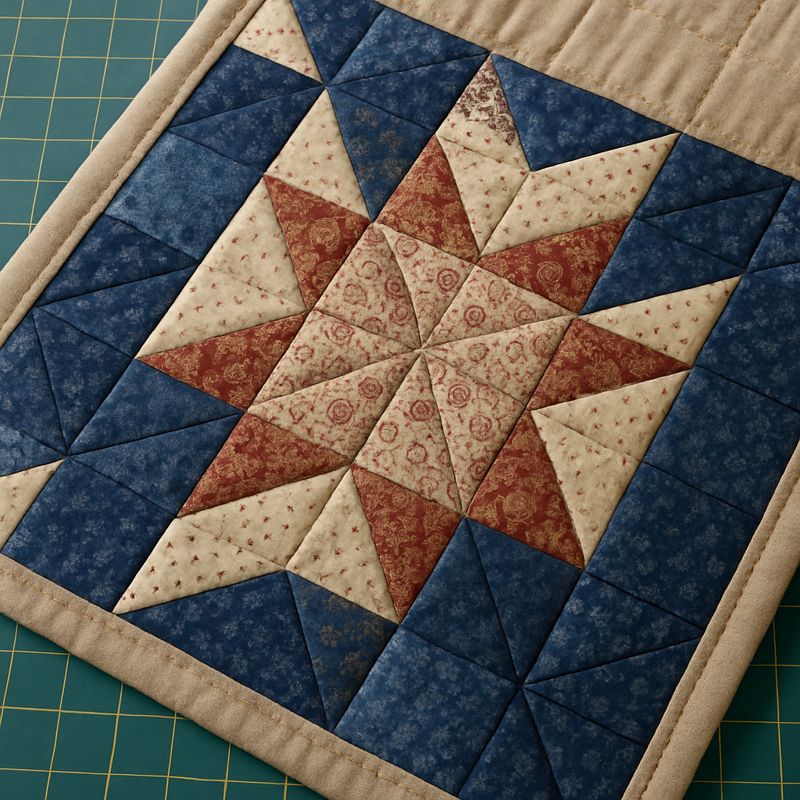
Accurate Cutting Makes All the Difference
Even the most beautiful fabric will not look good if the pieces are cut inaccurately. Cutting correctly is one of the foundations of professional-looking quilts. For best results:
Use a sharp rotary cutter
Use a high-quality acrylic ruler
Cut slowly and firmly
Double-check measurements
Replace dull blades frequently
Accurate cutting ensures blocks fit together perfectly, seams align cleanly, and the quilt top stays square.
Maintain a Consistent 1/4-Inch Seam Allowance
Most quilt patterns rely on a precise 1/4-inch seam allowance. If your seams are inconsistent, your blocks will end up too big or too small, and your quilt top may ripple or warp.
To maintain perfection:
Use a 1/4-inch presser foot
Mark a seam guide on your machine
Practice sewing straight lines
Check your seam width regularly
A consistent seam allowance is one of the clearest signs of professional craftsmanship.
Press—Don’t Iron
There is a BIG difference between pressing and ironing in quilting. Pressing means lifting and gently lowering the iron, while ironing means sliding the iron across the fabric. Sliding can distort blocks and stretch seams, resulting in uneven edges.
To achieve crisp, professional seams:
Press every seam as you sew
Press seams to one side or open as recommended
Allow the piece to cool before moving it
Use steam carefully to avoid stretching
Well-pressed blocks lie flat and join cleanly, instantly improving the quilt’s appearance.
Pay Attention to Fabric Direction
Directional prints can make your quilt look intentional and professional—or chaotic and unplanned. If you use prints with a clear direction (stripes, arrows, animals, etc.), decide whether:
All pieces will face the same direction, or
You will create a random pattern
Consistency is key. Planned directionality gives your quilt a polished look.
Square Up Your Blocks
Even skilled quilters sometimes end up with blocks slightly off-size. Squaring up blocks ensures they all match perfectly and fit together without stretching or forcing seams.
Use a square acrylic ruler
Trim carefully on all sides
Check size after each round or border
When your blocks are uniform, your finished quilt will look cleaner and lay flatter.
Use High-Quality Thread
Thread affects the strength and appearance of your quilt. Cheap thread can break, fray, or lint excessively. For a polished look, use:
100% cotton or high-quality polyester
Neutral colors that blend with fabric
Good tension on your machine
Fine, smooth thread disappears into seams and prevents bulky stitching.
Choose Batting Wisely
Batting plays a big role in quilt drape and texture. For professional results, choose batting that complements your project. Common options include:
Cotton for a flat, traditional look
Cotton/poly blend for softness and durability
Wool for loft and warmth
Polyester for lightweight quilts
The thickness and structure of batting affect how your quilt looks after quilting.
Use a Walking Foot for Straighter Quilting
A walking foot feeds the top and bottom layers evenly, preventing shifting and puckering. This is especially important for:
Straight-line quilting
Dense quilting
Large quilts
If you want clean, straight lines without ripples, a walking foot is essential.
Practice Clean, Even Quilting
Quilting stitches add texture and stability. To look professional, quilting lines should be:
Evenly spaced
Straight or intentionally curved
Smooth without tension problems
Good quilting lifts the entire quilt design. Avoid patterns that are too complicated for your current skill level—simple, clean quilting often looks best.
Use Quality Binding Techniques
Binding is the final step, and sloppy binding can ruin an otherwise beautiful quilt. For professional-looking binding:
Cut binding strips consistently
Join strips with diagonal seams
Press binding well before attaching
Sew binding on with even seam allowance
Use mitered corners for a clean finish
Hand-stitching the binding to the back adds a refined, polished touch.
Keep the Quilt Square During Assembly
Large quilts can become distorted while adding rows or borders. To keep everything square:
Measure through the center, not the edges
Pin rows carefully
Use a walking foot on long seams
Press frequently
Accurate assembly prevents waves, ripples, and uneven edges.
Trim Loose Threads
Stray threads on the quilt top or backing make a project look unfinished. Before quilting, trim:
Threads from seams
Loose ends on the back
Stray lint or fibers
After quilting, inspect the quilt again and trim any remaining threads.
Block Your Quilt for a Perfect Finish
Blocking helps your quilt lie flat and improves the overall shape. Spray the quilt lightly with water, lay it flat, and gently shape it into a square. Allow it to dry completely. Blocking is especially helpful for quilts with:
Bias edges
Dense quilting
Curved edges
It gives the quilt a smooth, professional appearance.
Add a Label to Your Quilt
A professional quilt includes a label with:
Maker’s name
Date
Location
Occasion or dedication
A simple embroidered or printed label elevates your quilt and turns it into a keepsake.
Final Thoughts
Creating a quilt that looks professional is less about perfection and more about consistency, attention to detail, and proper techniques. Every step—from choosing fabric to adding the final stitch—contributes to the quality of your quilt. As you practice these skills, you will see dramatic improvement in your work. Each quilt becomes an opportunity to refine your craft, express creativity, and make something beautiful and lasting.