Making your first large quilt is an exciting milestone for any quilter. Whether you’re creating a queen-size bed quilt, a cozy throw, or a family heirloom, the process is deeply rewarding. Large quilts offer comfort, beauty, and the satisfaction of completing a long-term project. While the size may feel intimidating, breaking the work into manageable steps makes the experience smooth and enjoyable. With the right planning, materials, and techniques, even beginners can create a stunning, professional-looking large quilt. This guide will walk you through everything you need to know to successfully make your first large quilt from start to finish.
Choosing the Right Quilt Pattern
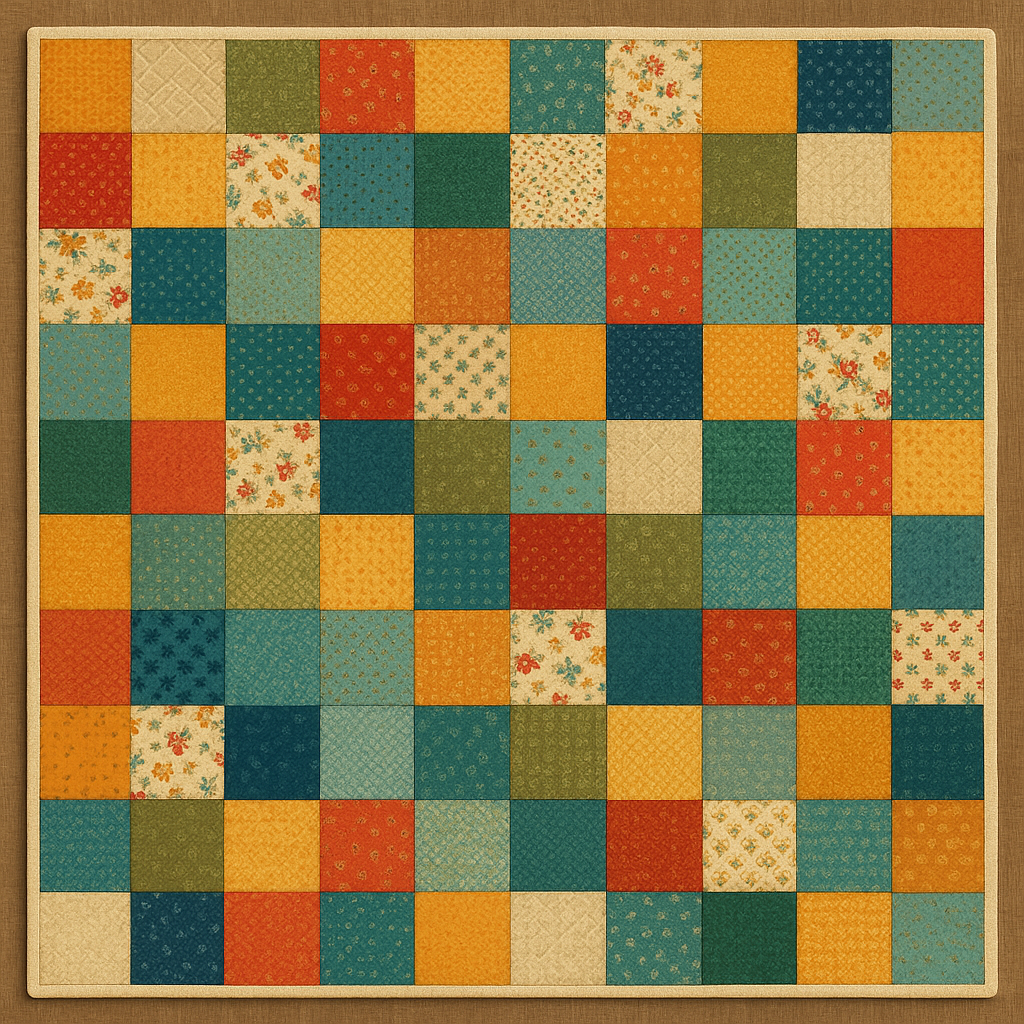
Your pattern sets the tone for the entire project. For your first large quilt, choose a design that is visually appealing yet simple enough to manage. Ideal beginner-friendly patterns include:
Patchwork squares
Strip quilts
Rail fence
Brick or tile-style patterns
Large half-square triangles
Avoid patterns with tiny pieces or complex curves, as they require more precision and significantly more time. Large-scale blocks help your quilt grow quickly and reduce frustration.
Selecting Fabrics for a Large Quilt
Fabric choice plays a big role in the final appearance. Look for high-quality quilting cotton, which is durable, easy to sew, and available in countless prints and colors. When selecting fabrics:
Choose a cohesive color palette
Mix solids with prints for visual balance
Select fabrics with similar weights
Plan for extra yardage for mistakes or miscuts
A large quilt requires more fabric than smaller projects, so buying in bulk or using fat quarter bundles can save time and maintain consistency.
Understanding Quilt Size Requirements
Large quilts come in different sizes depending on the bed or intended use. Common dimensions include:
Twin: 65″ × 88″
Full: 80″ × 88″
Queen: 86″ × 93″
King: 104″ × 93″
Throw: 60″ × 70″
Your quilt top will need to be slightly larger if you plan to add borders. Before cutting fabric, ensure your pattern matches the size you want.
Preparing and Cutting Your Fabric
Accurate cutting is essential for large quilts. Begin by pressing your fabric to remove creases. Use a rotary cutter, acrylic ruler, and self-healing cutting mat. Cut your pieces carefully following your pattern’s measurements.
To stay organized:
Stack pieces in labeled piles
Use zip bags or trays for block components
Measure twice before cutting
Small cutting errors become much more noticeable as the quilt grows. Take your time with this step.
Piecing Quilt Blocks
Once your fabric is cut, you can begin sewing blocks. Maintain a consistent 1/4-inch seam allowance to ensure your blocks fit together properly. Tips for successful block piecing include:
Sew steadily without rushing
Press seams as you go
Chain piece when possible to save time
Check block measurements frequently
The more accurate your blocks, the easier the quilt assembly will be later.
Creating Rows and Sections
Large quilt tops are easier to handle when assembled in sections rather than one long piece. After completing your blocks:
Arrange them on a design wall or floor
Experiment with layout until satisfied
Sew blocks into rows
Sew rows into larger sections
Join sections to complete the top
This method helps minimize distortion and makes the process more manageable.
Adding Borders (Optional)
Borders frame your quilt and can add size or visual interest. Simple straight borders are easiest for beginners. Measure through the center of the quilt—not along the edge—to avoid wavy borders. Add borders carefully and press them flat before moving on.
Preparing the Quilt Sandwich
The quilt sandwich consists of three layers:
The quilt top
Batting
Backing fabric
For large quilts, lay the layers out on a clean floor or large table. Smooth each layer thoroughly to prevent wrinkles. Use safety pins, basting spray, or thread basting to secure the sandwich before quilting.
Choosing Your Quilting Method
You have several quilting options:
Hand quilting – Slow but beautifully traditional
Machine quilting – Fast and accessible
Longarm quilting – Ideal for large quilts but may require a professional
If machine quilting, choose simple designs such as straight lines, stitch-in-the-ditch, or gentle curves. Dense patterns can be difficult on a large quilt unless you have experience.
Managing a Large Quilt in a Domestic Machine
Quilting a large piece can feel overwhelming, but there are ways to make the process easier:
Roll or fold the quilt neatly
Support quilt weight with a table or ironing board
Work from the center outward
Choose simple quilting paths
Use a walking foot to prevent shifting
With patience, quilting a large project becomes much more manageable.
Selecting the Right Batting
Batting affects weight, warmth, and drape. Popular options include:
Cotton – Soft, breathable, traditional
Polyester – Lightweight and fluffy
Cotton/poly blend – Best of both worlds
Wool – Warm and luxurious
For your first large quilt, cotton or blends are easiest to quilt and wash.
Backing Fabric Choices
Backing fabric can be:
A single wide-back fabric
Pieced yardage
A patchwork backing from leftover scraps
Wide-back fabrics simplify the process and avoid seams. Matching your backing to the front colors adds cohesion.
Binding Your Large Quilt
Binding gives your quilt a clean, finished edge. Steps include:
Trim the quilt to square it
Make binding strips (usually 2.5 inches wide)
Sew strips together
Attach binding to the front
Fold over and stitch to the back
A walking foot helps create smooth, even binding on large quilts.
Washing and Finishing
Once bound, your quilt is nearly complete. Washing a quilt:
Softens the fibers
Helps the quilt settle
Gives it a cozy, crinkled look
Use a gentle cycle and mild detergent. Dry on low heat or air dry.
Storing or Displaying Your Quilt
Large quilts can be enjoyed in many ways:
Draped across a bed
Displayed on a quilt ladder
Used as a statement throw
Gifted as a meaningful heirloom
Store quilts in breathable cotton bags—not plastic—to preserve them.
Tips for Success on Large Quilts
Stay organized with labeled pieces
Break the project into manageable steps
Work at a comfortable pace
Don’t rush the quilting stage
Choose simple patterns for your first large project
Celebrate progress along the way
Large quilts take time, but each milestone is satisfying.
Final Thoughts
Making your first large quilt is a wonderful achievement that reflects skill, patience, and creativity. While the size may seem challenging at first, careful planning and consistent techniques lead to beautiful results. The process teaches valuable quilting fundamentals and builds confidence for future projects. Whether you keep your quilt or give it as a heartfelt gift, it will become a cherished piece filled with craftsmanship and love.