Accuracy is one of the most important skills in quilting. Every block, strip, and seam contributes to the overall look of the finished quilt. When pieces match perfectly, patterns align, and seams stay consistent, the quilt looks polished and professional. Even the most beautiful fabrics and colors cannot compensate for uneven cutting or mismatched seams. Fortunately, accuracy is something all quilters can master with practice and the right techniques. This guide offers practical tips to help you improve your precision, avoid common mistakes, and create quilts that come together beautifully.
Start with High-Quality Tools
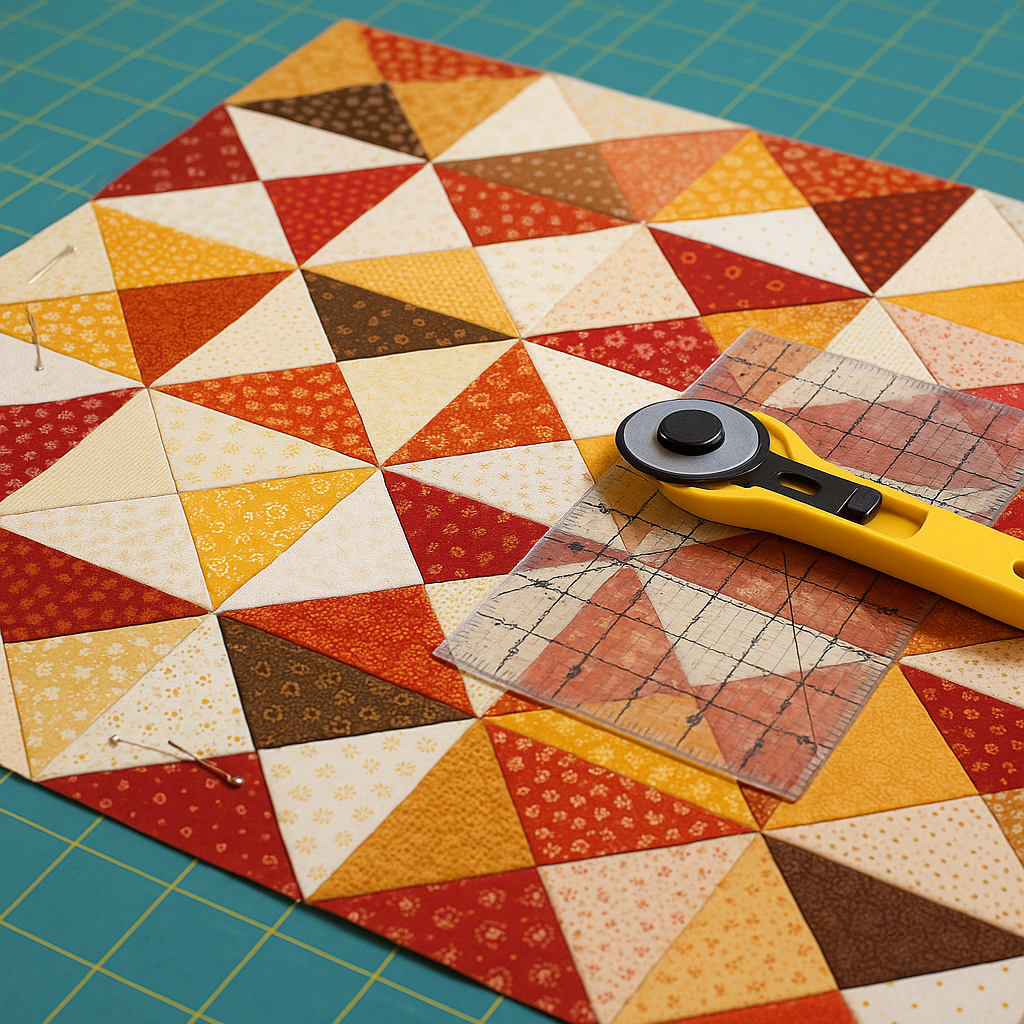
Accurate sewing begins with reliable tools. A sharp rotary cutter, a sturdy cutting mat, and a transparent acrylic ruler are essential. Dull blades can cause fabric to shift or fray, resulting in uneven cuts, so replace your rotary blades when they start skipping threads. A good sewing machine with consistent stitching also contributes significantly to accuracy. Using the right needle size for quilting cotton and high-quality thread ensures smooth stitching. Keeping your tools clean and in good condition sets the foundation for precise quilting.
Press Your Fabric Before Cutting
Pressing your fabric with an iron before cutting makes a huge difference in accuracy. Wrinkles and folds can distort measurements, causing pieces to be slightly too small or too large. A quick press smooths the fabric and ensures it lies flat against the cutting mat. If your fabric has been stored for a while or has creases from manufacturing, use steam or a light mist of water to remove stubborn wrinkles. Always let the fabric cool before handling it to prevent stretching.
Measure Carefully and Cut Slowly
Cutting is one of the most important steps for accuracy. Even small measurement errors can snowball throughout the quilt. Align your fabric on the cutting mat and use your acrylic ruler to measure accurately. Hold the ruler firmly in place with your non-dominant hand, keeping your fingers away from the rotary blade. When cutting, apply consistent pressure and move the cutter smoothly along the edge of the ruler. Avoid rushing—cutting slowly and steadily ensures clean, precise pieces. If you need multiple identical pieces, consider stacking layers or using pre-cut fabrics like charm packs or jelly rolls for efficiency.
Use a Quarter-Inch Seam Allowance
The standard seam allowance in quilting is one quarter of an inch. Consistent seam allowances ensure that your blocks finish at the correct size. Many sewing machines offer a quarter-inch presser foot that provides a built-in guide. If your machine doesn’t have one, mark a quarter-inch line on your throat plate using painter’s tape as a visual guide. Practicing straight stitching with this guide helps you develop muscle memory. Inaccurate seam allowances are one of the biggest causes of mismatched blocks, so mastering this step is essential.
Pin or Clip Pieces Before Sewing
Pinning or clipping your pieces before sewing helps keep them aligned. Pins are especially helpful when matching seams, points, or corners. Place pins perpendicular to the fabric edge so you can sew over them slowly if needed. Clips are ideal for thicker seams or long strips. Taking the time to pin properly prevents shifting while you sew and greatly improves accuracy. If you find your pieces still shift, reduce your sewing speed for better control.
Sew at a Consistent Speed
Stitching at a steady, moderate pace helps maintain accuracy. Sewing too quickly can cause the fabric to pull, shift, or stretch, especially when working with bias edges. Practice sewing at a controlled speed and find a rhythm that feels comfortable. Slowing down around corners or when aligning seams ensures cleaner results. Your machine may also have a speed control slider—setting it to a lower speed can help beginners maintain consistency.
Press Seams Carefully
Pressing seams is just as important as sewing them. After sewing a seam, press it with the iron before opening it. This sets the seam and reduces bulk. Then press the seam either open or to one side. Pressing to the side is helpful when nesting seams, while pressing open creates a flatter block. Avoid ironing back and forth aggressively, as this can stretch the fabric. Instead, lift and press gently. Well-pressed seams help blocks fit together more smoothly.
Trim Units to Size
Trimming blocks and units ensures accuracy before assembly. Half Square Triangles, flying geese, and other pieced units often need trimming to achieve their correct measurements. Use a square ruler to trim corners and edges precisely. Trimming keeps blocks uniform and improves alignment during assembly. Although trimming adds an extra step, it results in a much cleaner and more accurate finished quilt.
Nest Seams for Cleaner Results
Nesting seams refers to pressing seams in opposite directions so they lock together when sewing blocks or rows. This technique helps seams match perfectly and reduces bulk. When nesting seams, place the pieces right sides together and gently feel with your fingers to ensure the seams align. Pin the intersection and sew slowly for best results. Nesting creates crisp intersections and a professional look in patterns like the Nine Patch or Four Patch.
Starch or Stabilize Your Fabric
Starching your fabric before cutting can improve accuracy, especially for blocks with bias edges or small pieces. Lightly spray starch or a fabric stabilizer onto the fabric and press it until dry. This gives the fabric a crisp structure, making it easier to cut and sew without distortion. Using starch is optional but highly recommended for precision-heavy patterns like stars or detailed geometric designs.
Use a Design Wall or Flat Surface
Laying out blocks on a design wall or large table helps you visualize your quilt and spot inconsistencies early. A design wall lets you reposition blocks easily to check for color balance, pattern flow, and seam alignment. Seeing everything laid out before sewing reduces mistakes and ensures your quilt comes together cohesively. Even a large piece of batting taped to the wall works well for this purpose.
Check Measurements as You Work
Accuracy is a step-by-step process. After sewing each block or unit, measure it to ensure it matches the pattern specifications. If a block is off by more than one-eighth of an inch, adjust your seam allowance or trimming method before proceeding. Catching errors early prevents larger problems later. Consistent checking helps you stay on track and improves your overall quilting accuracy.
Keep Your Workspace Clean and Organized
A tidy workspace helps prevent mistakes. Keep your tools within reach, and clear away fabric scraps or threads that may obscure your cutting area. Organize your pieces into labeled stacks or trays to avoid mixing them up. Working in a clean environment keeps you focused and reduces the risk of cutting the wrong size or sewing blocks in the wrong order.
Practice with Simple Patterns
Accuracy improves with practice. Start with simple patterns like the Nine Patch or Rail Fence before moving on to more complex designs. These beginner-friendly patterns help you master cutting, piecing, and pressing. As your skills grow, you can tackle intricate patterns requiring more precision. Consistent practice will naturally enhance your accuracy over time.
Celebrate Progress, Not Perfection
Even experienced quilters make mistakes. Fabric stretches, seams shift, and measurements vary. The goal is not perfection but improvement. Each quilt you make helps you grow in accuracy and confidence. Celebrate the progress you see in every project—whether it’s straighter seams, flatter blocks, or better matching points. Quilting is a craft of patience, learning, and creativity.